
Repurposing a Six Year Old Kindle
Last year, I upgraded to one of the newer PaperWhite models. My 2012 Kindle Touch was starting to show its age. However, since the display was still functional, I was interested in seeing if I could repurpose it. After looking around for inspiration, Paul Stamatiou's Raspberry Pi photo frame caught my eye. The Kindles' e-ink display actually makes it a great fit for a photo frame — it can keep going for months without a charge. Here's how I did it:
Step 1: Jailbreaking the Kindle
To extend the Kindle's functionality beyond what is originally meant to do, you're going to have Jailbreak it. I followed the process from the Yifan Lu's blog (if you have a different Kindle, check out the MobileRead forums). This may seem daunting, but it was honestly the easiest part.
- Download the jailbreak files.
- Copy
data.tar.gzto the root folder of your Kindle. - Restart the Kindle.
After restarting, you should see the message "You are Jailbroken" appear (if you do not see this, refer to Yifan's post on further instructions).
Step 2: Install the Kindle Screensaver Hack
With the Kindle jailbroken, I decided to go with a simple screensaver hack that allows you to display custom pictures. Similar to the jailbreak hack, you'll need to download the files, copy it to your root and restart the kindle.
Step 3: Prepare your images
To use custom images with the screensaver hack, you'll need to follow a strict set of rules.
- Each image must be a grayscale PNG that is 600 × 800. I used this tool to prepare the images.
- Each image must be named bg_xsmall_ss##.png, where ## is a two digit number from 00 to 99.
- The image numbers start at 0, and must be sequential (i.e. you cannot skip a number).
Once the images were ready, I copied them to the screensavers directory on my Kindle.
Step 3: Optional: Gut the Kindle
Before putting the Kindle in a frame, I decided to strip away any unnecessary parts. Following the iFixit teardown guide, I stripped the Kindle down completely to see what I could remove.
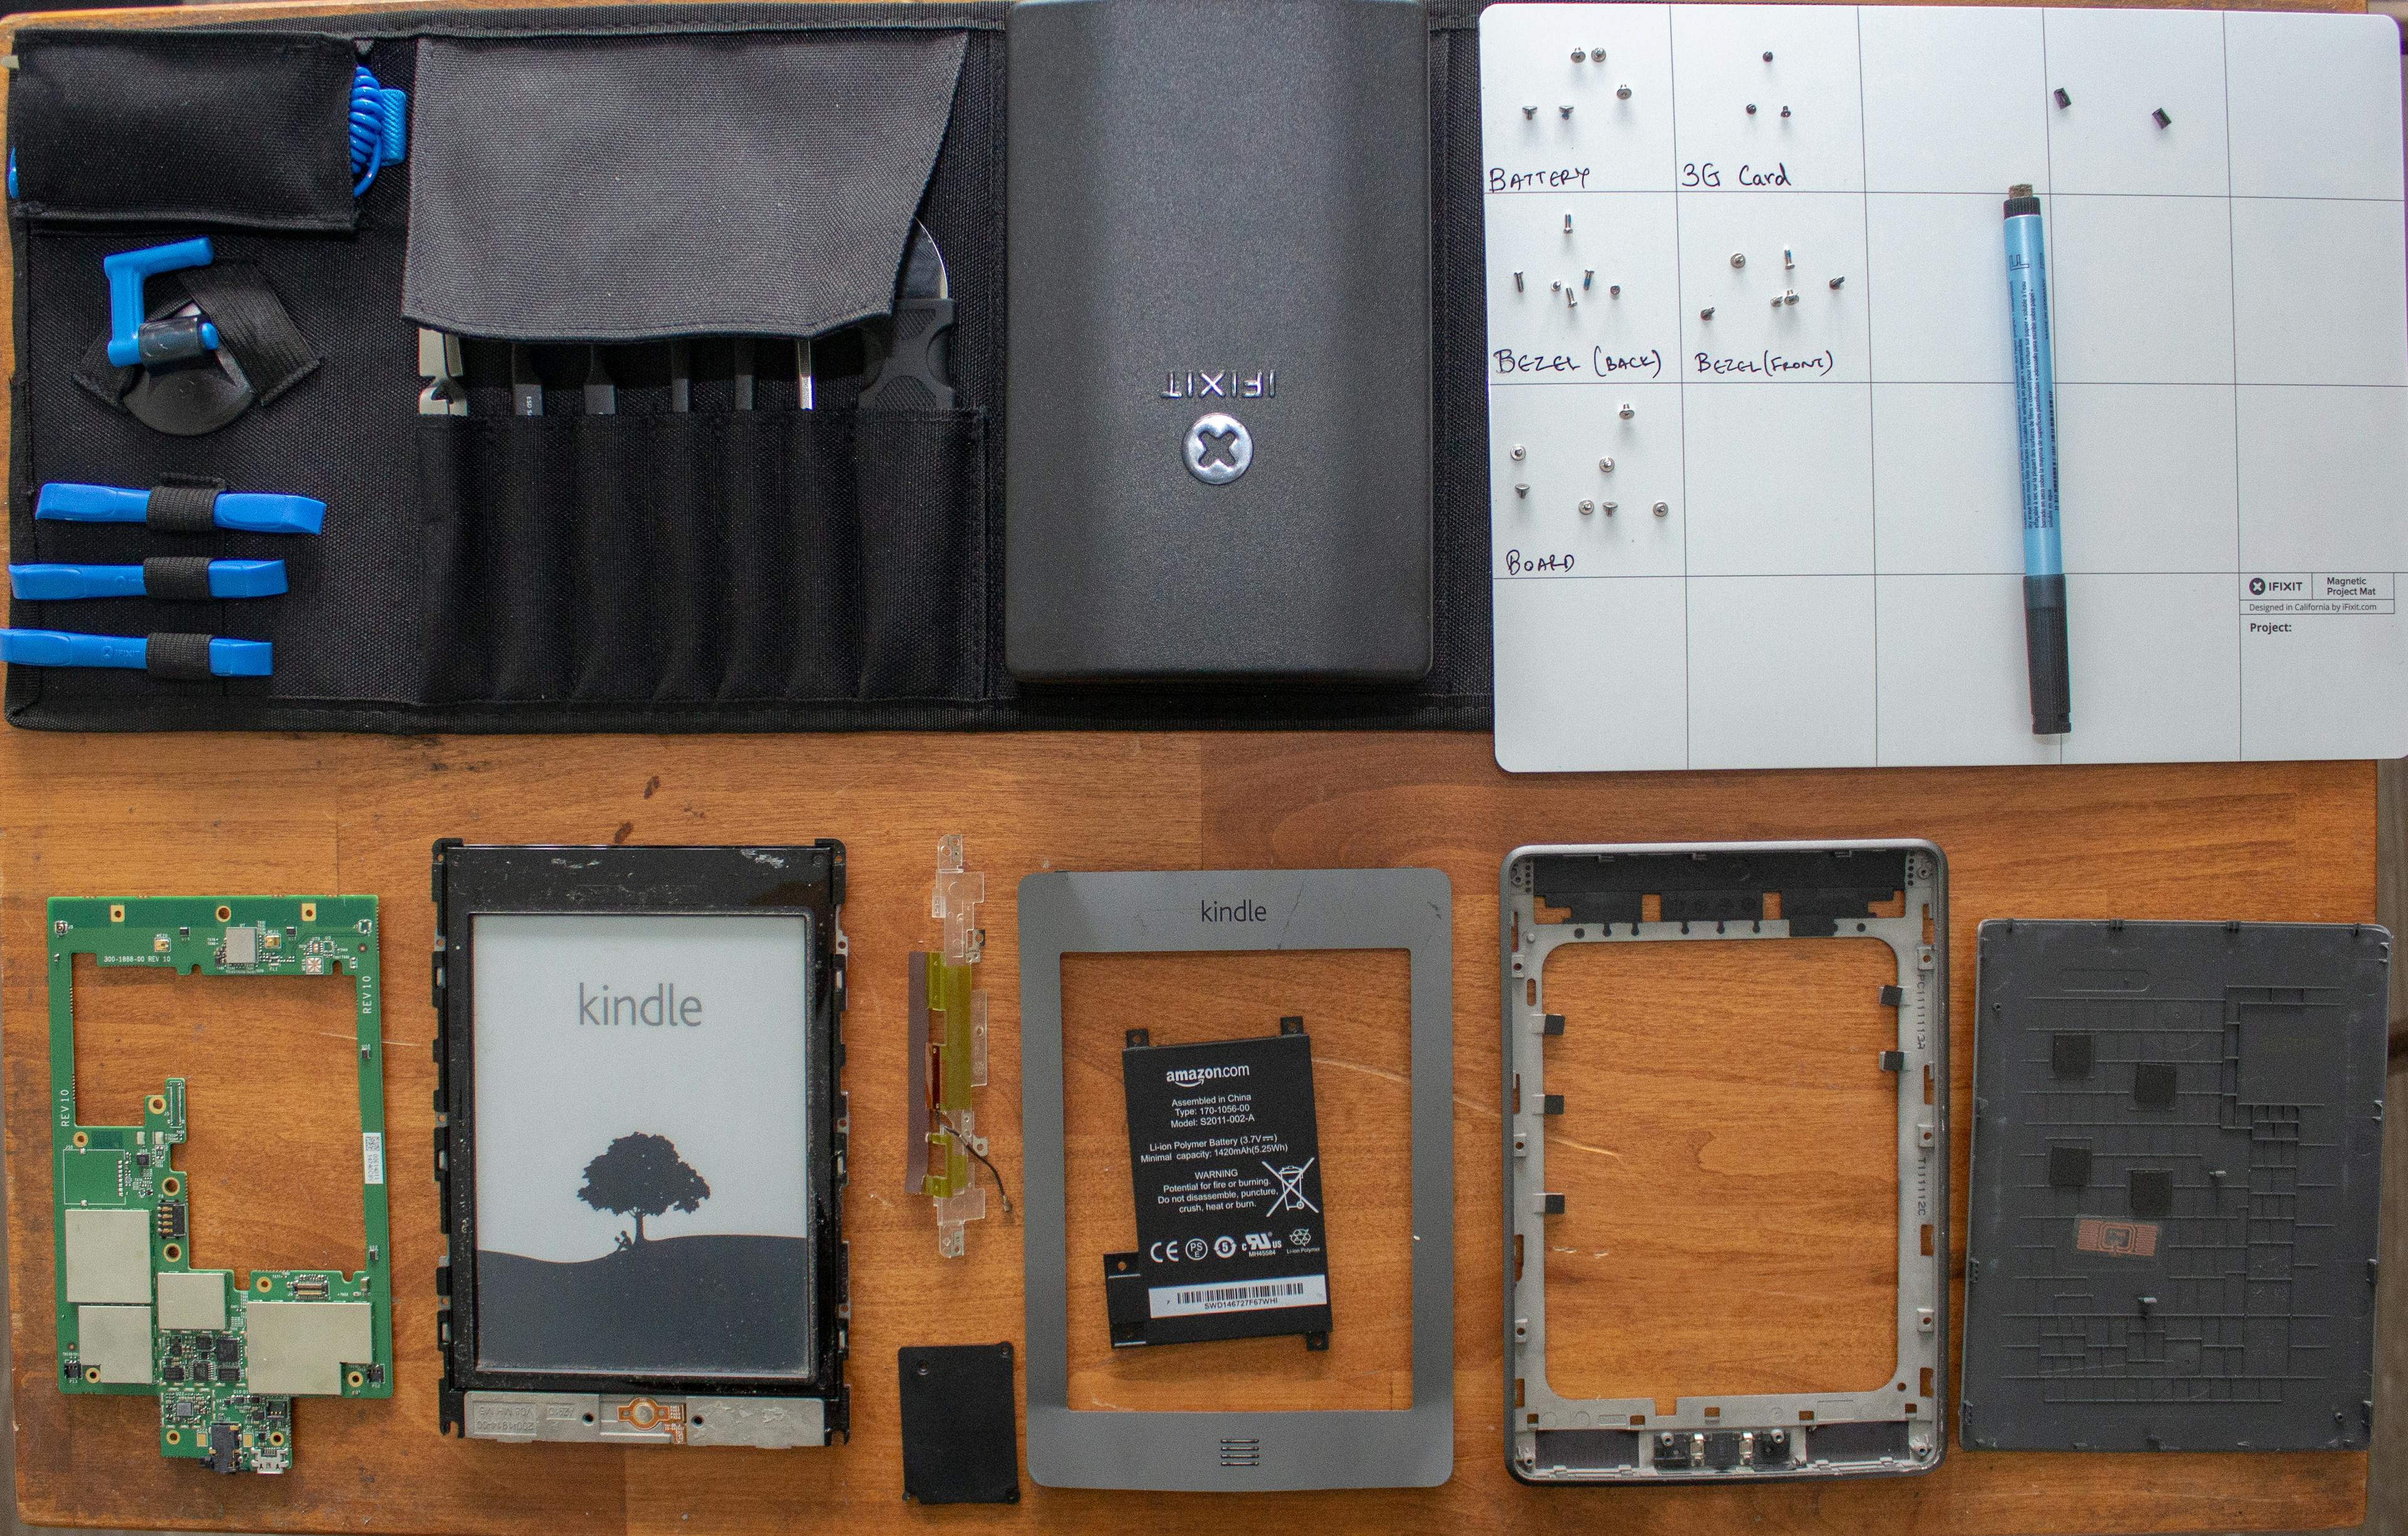
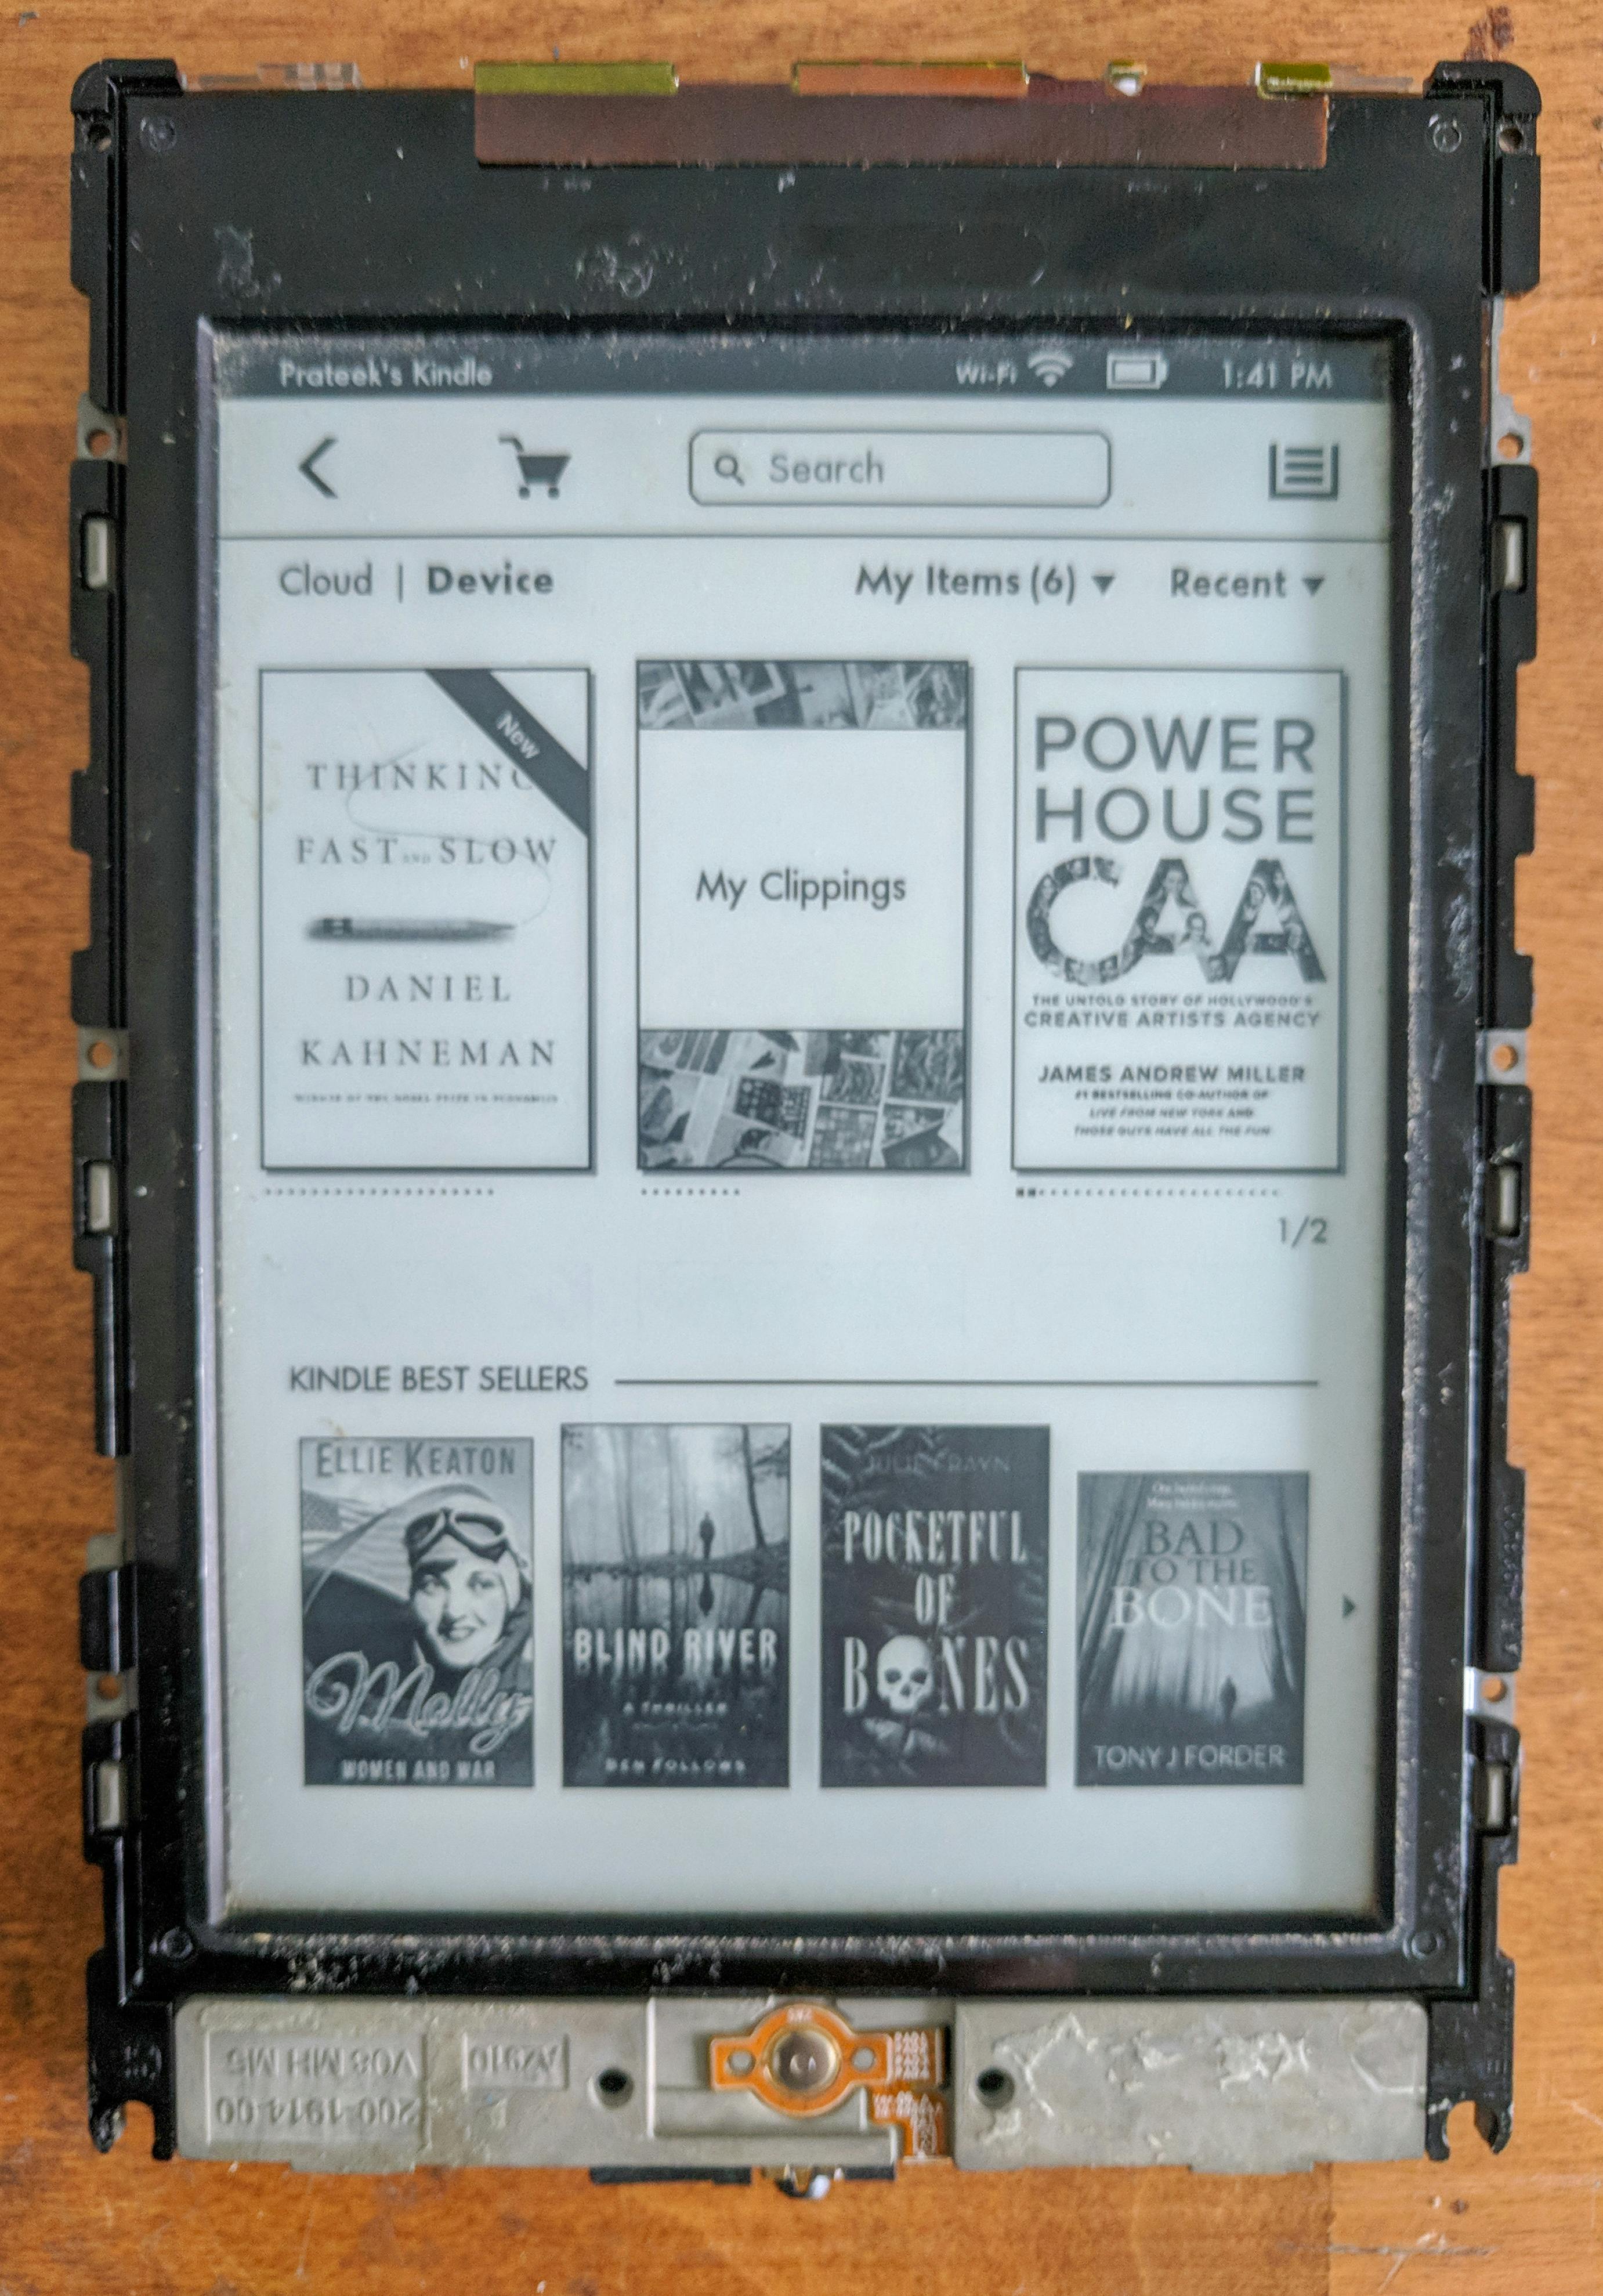
In the end, I removed just the front and back bezels, and the plastic 3G placeholder. After putting it back together, here's what it looked like.
Step 4: Frame the Kindle
Framing the Kindle was the trickiest part. For the first version, I picked up a simple black frame. I opened up the frame, lined up the display and stuck it in place with electrical tape. I drilled some holes in the bottom to allow room for a charging cable and copying over new images. It wasn't the prettiest (I forgot to take a picture of the back), but it did the job.

Once I had used this hack for a few weeks, I had a better idea of what I wanted. For the final frame, I had a custom framing store build me one.
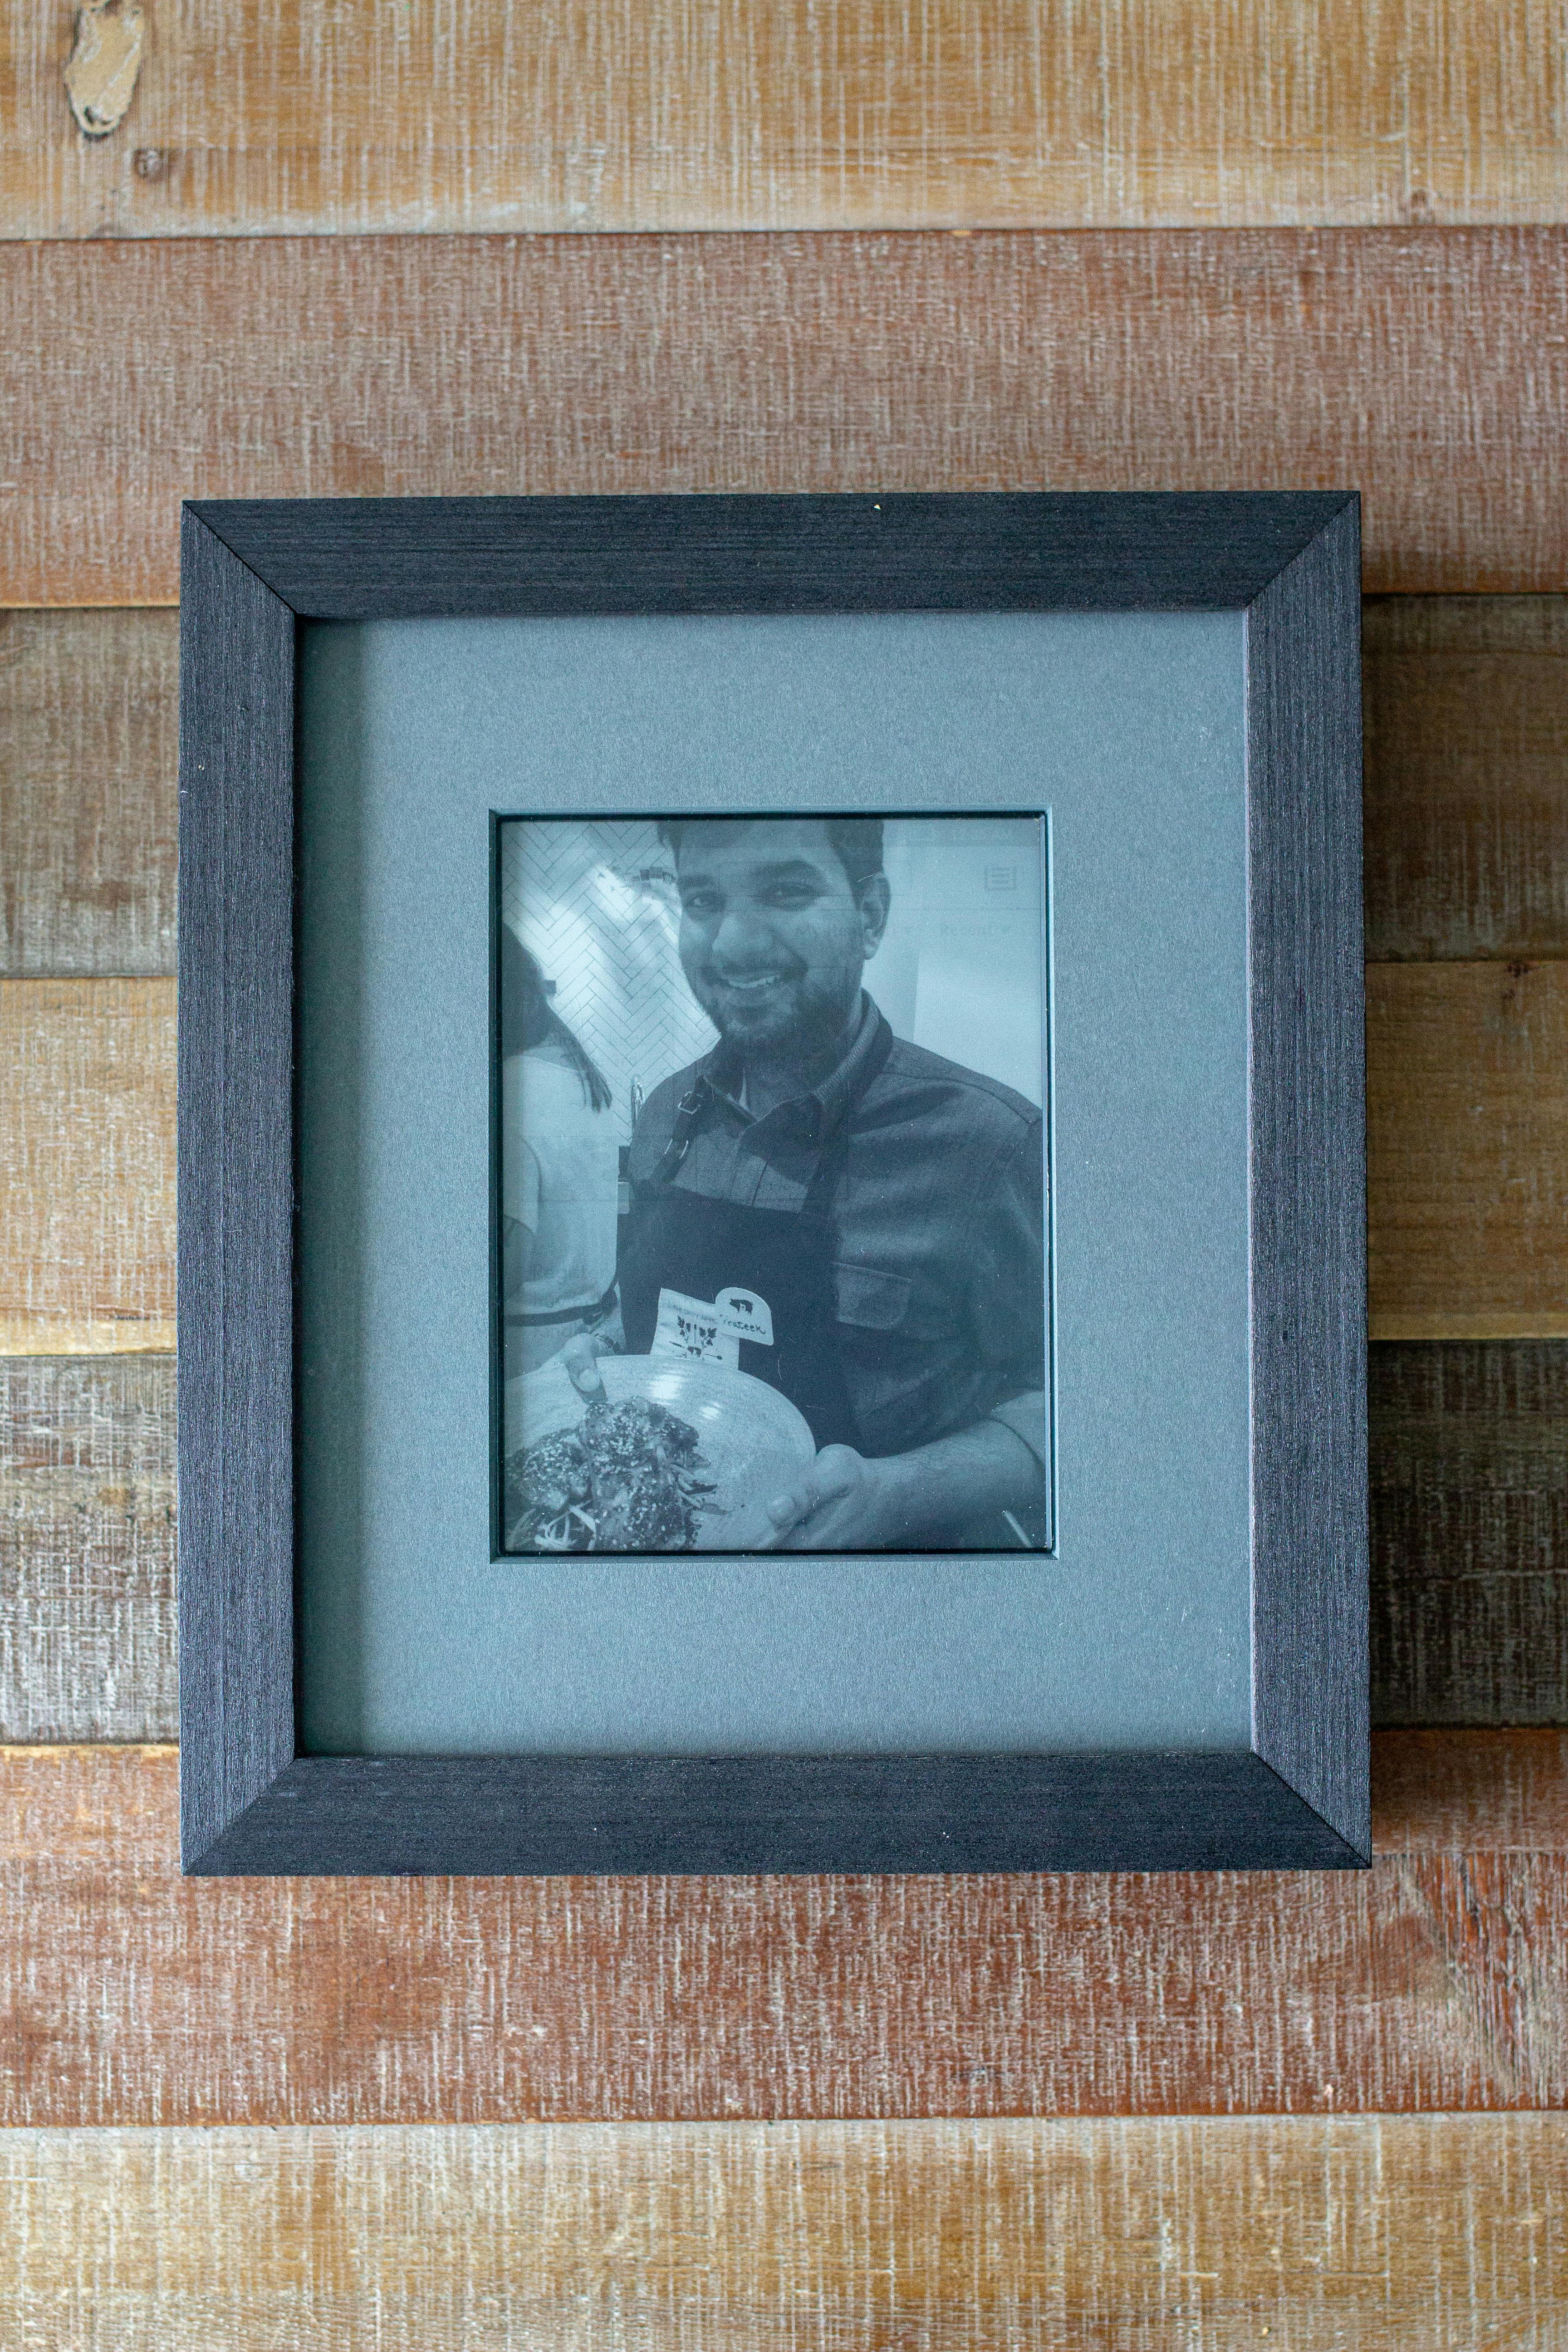
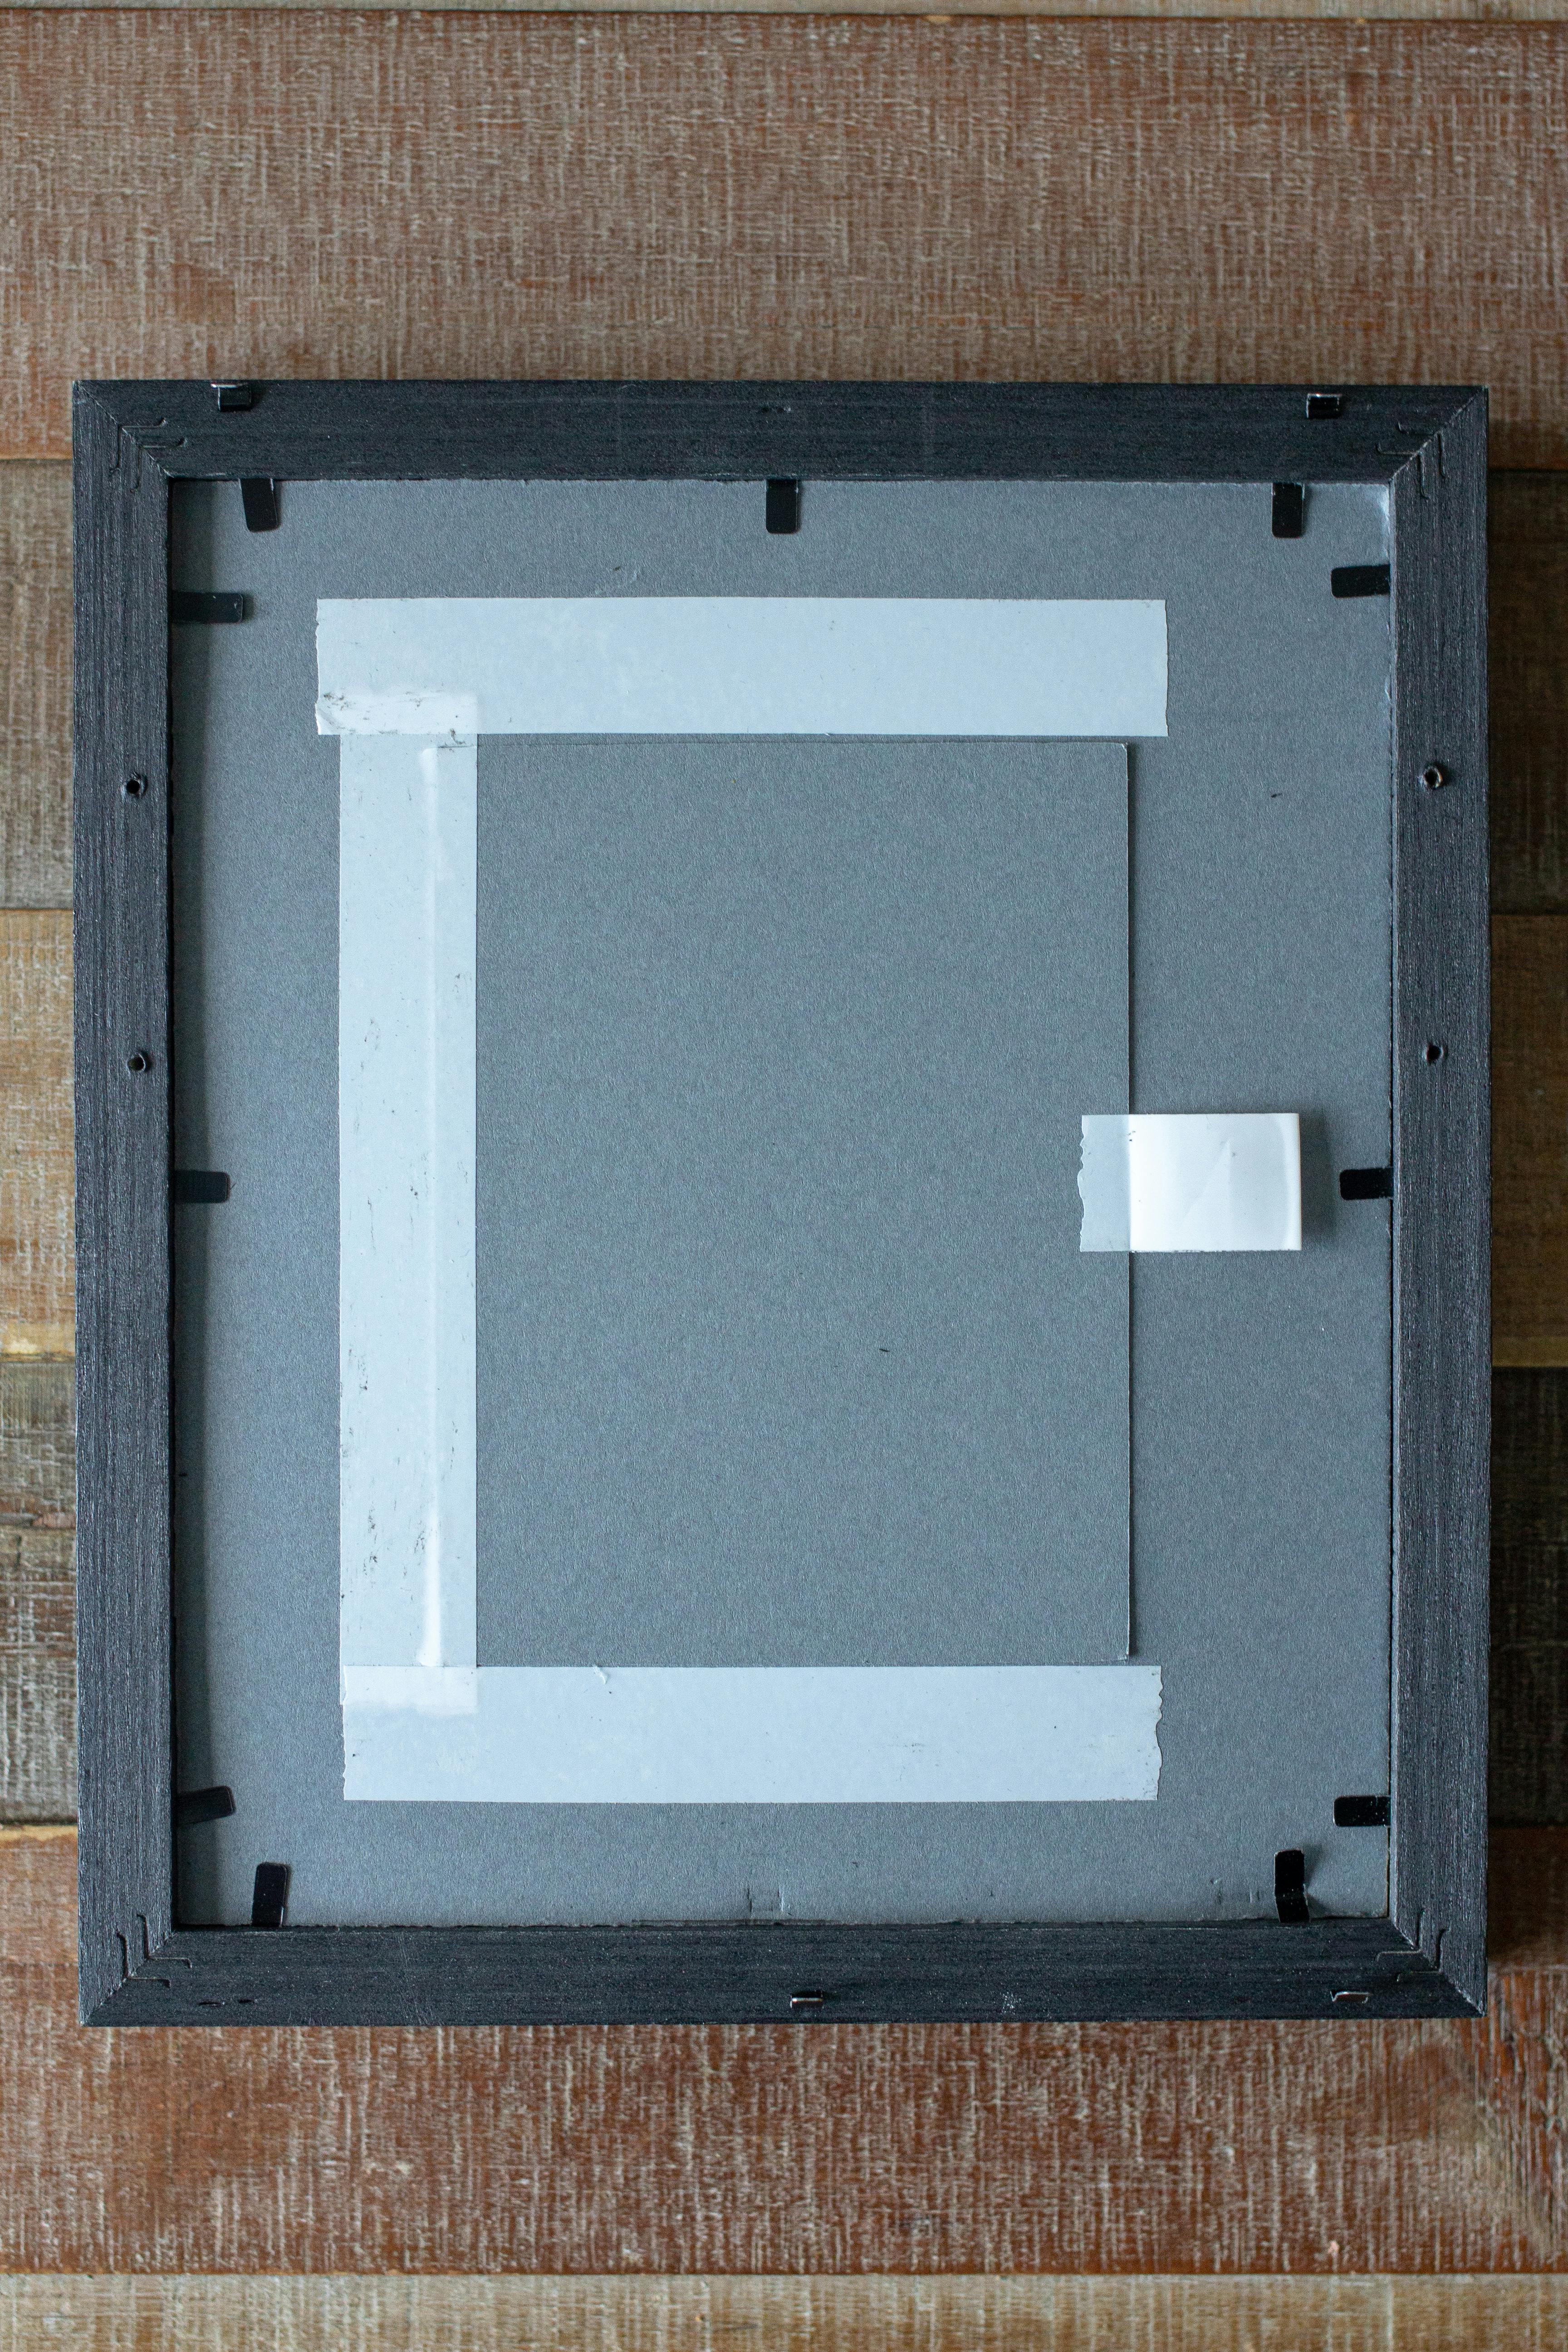
Having the frame built professionally ended up being a great idea. They built a channel into the bottom for a micro usb cable to slip through, and a door to access the Kindle battery in case I ever needed to replace it.

What's next?
I've been really enjoying the the Kindle photo frame. It fits in perfectly on our photo wall, and I love that I can change the images every once a while. There are a couple of improvements I'd like to pursue in the future:
-
Prevent the Kindle's home UI elements from bleeding through.
-
The screensaver only rotates images when you turn the display on and off. It would be great to script this so it rotates them on a schedule. In theory, this should also fix the bleeding issue.
-
Adapt the code from Kindle weather display project to remotely provide images instead of having to manually download the images. I started going down this route, but was unable to get the client side python code to work.